FPP in EQ8: The Iceland Block
I’m coming to the end of my EQ partnership (not that I’ll stop blogging about it entirely!), and also to the end of my summer sampler! I alluded a few posts back that I was going to design two extra blocks to get me to my 4x5 grid, and I ended up switching designs for my Iceland block. This is convenient for both of us, because I figured out how to make FPP templates in EQ8, and I’m going to tell YOU how I did it!
Step 1: Draw a block in the block worktable
Step 2: Go to make it, realize that it’s 3” too big and won’t size down well.
Step 3: Draw 8 more blocks from three different inspirations.
Step 4: …Profit?
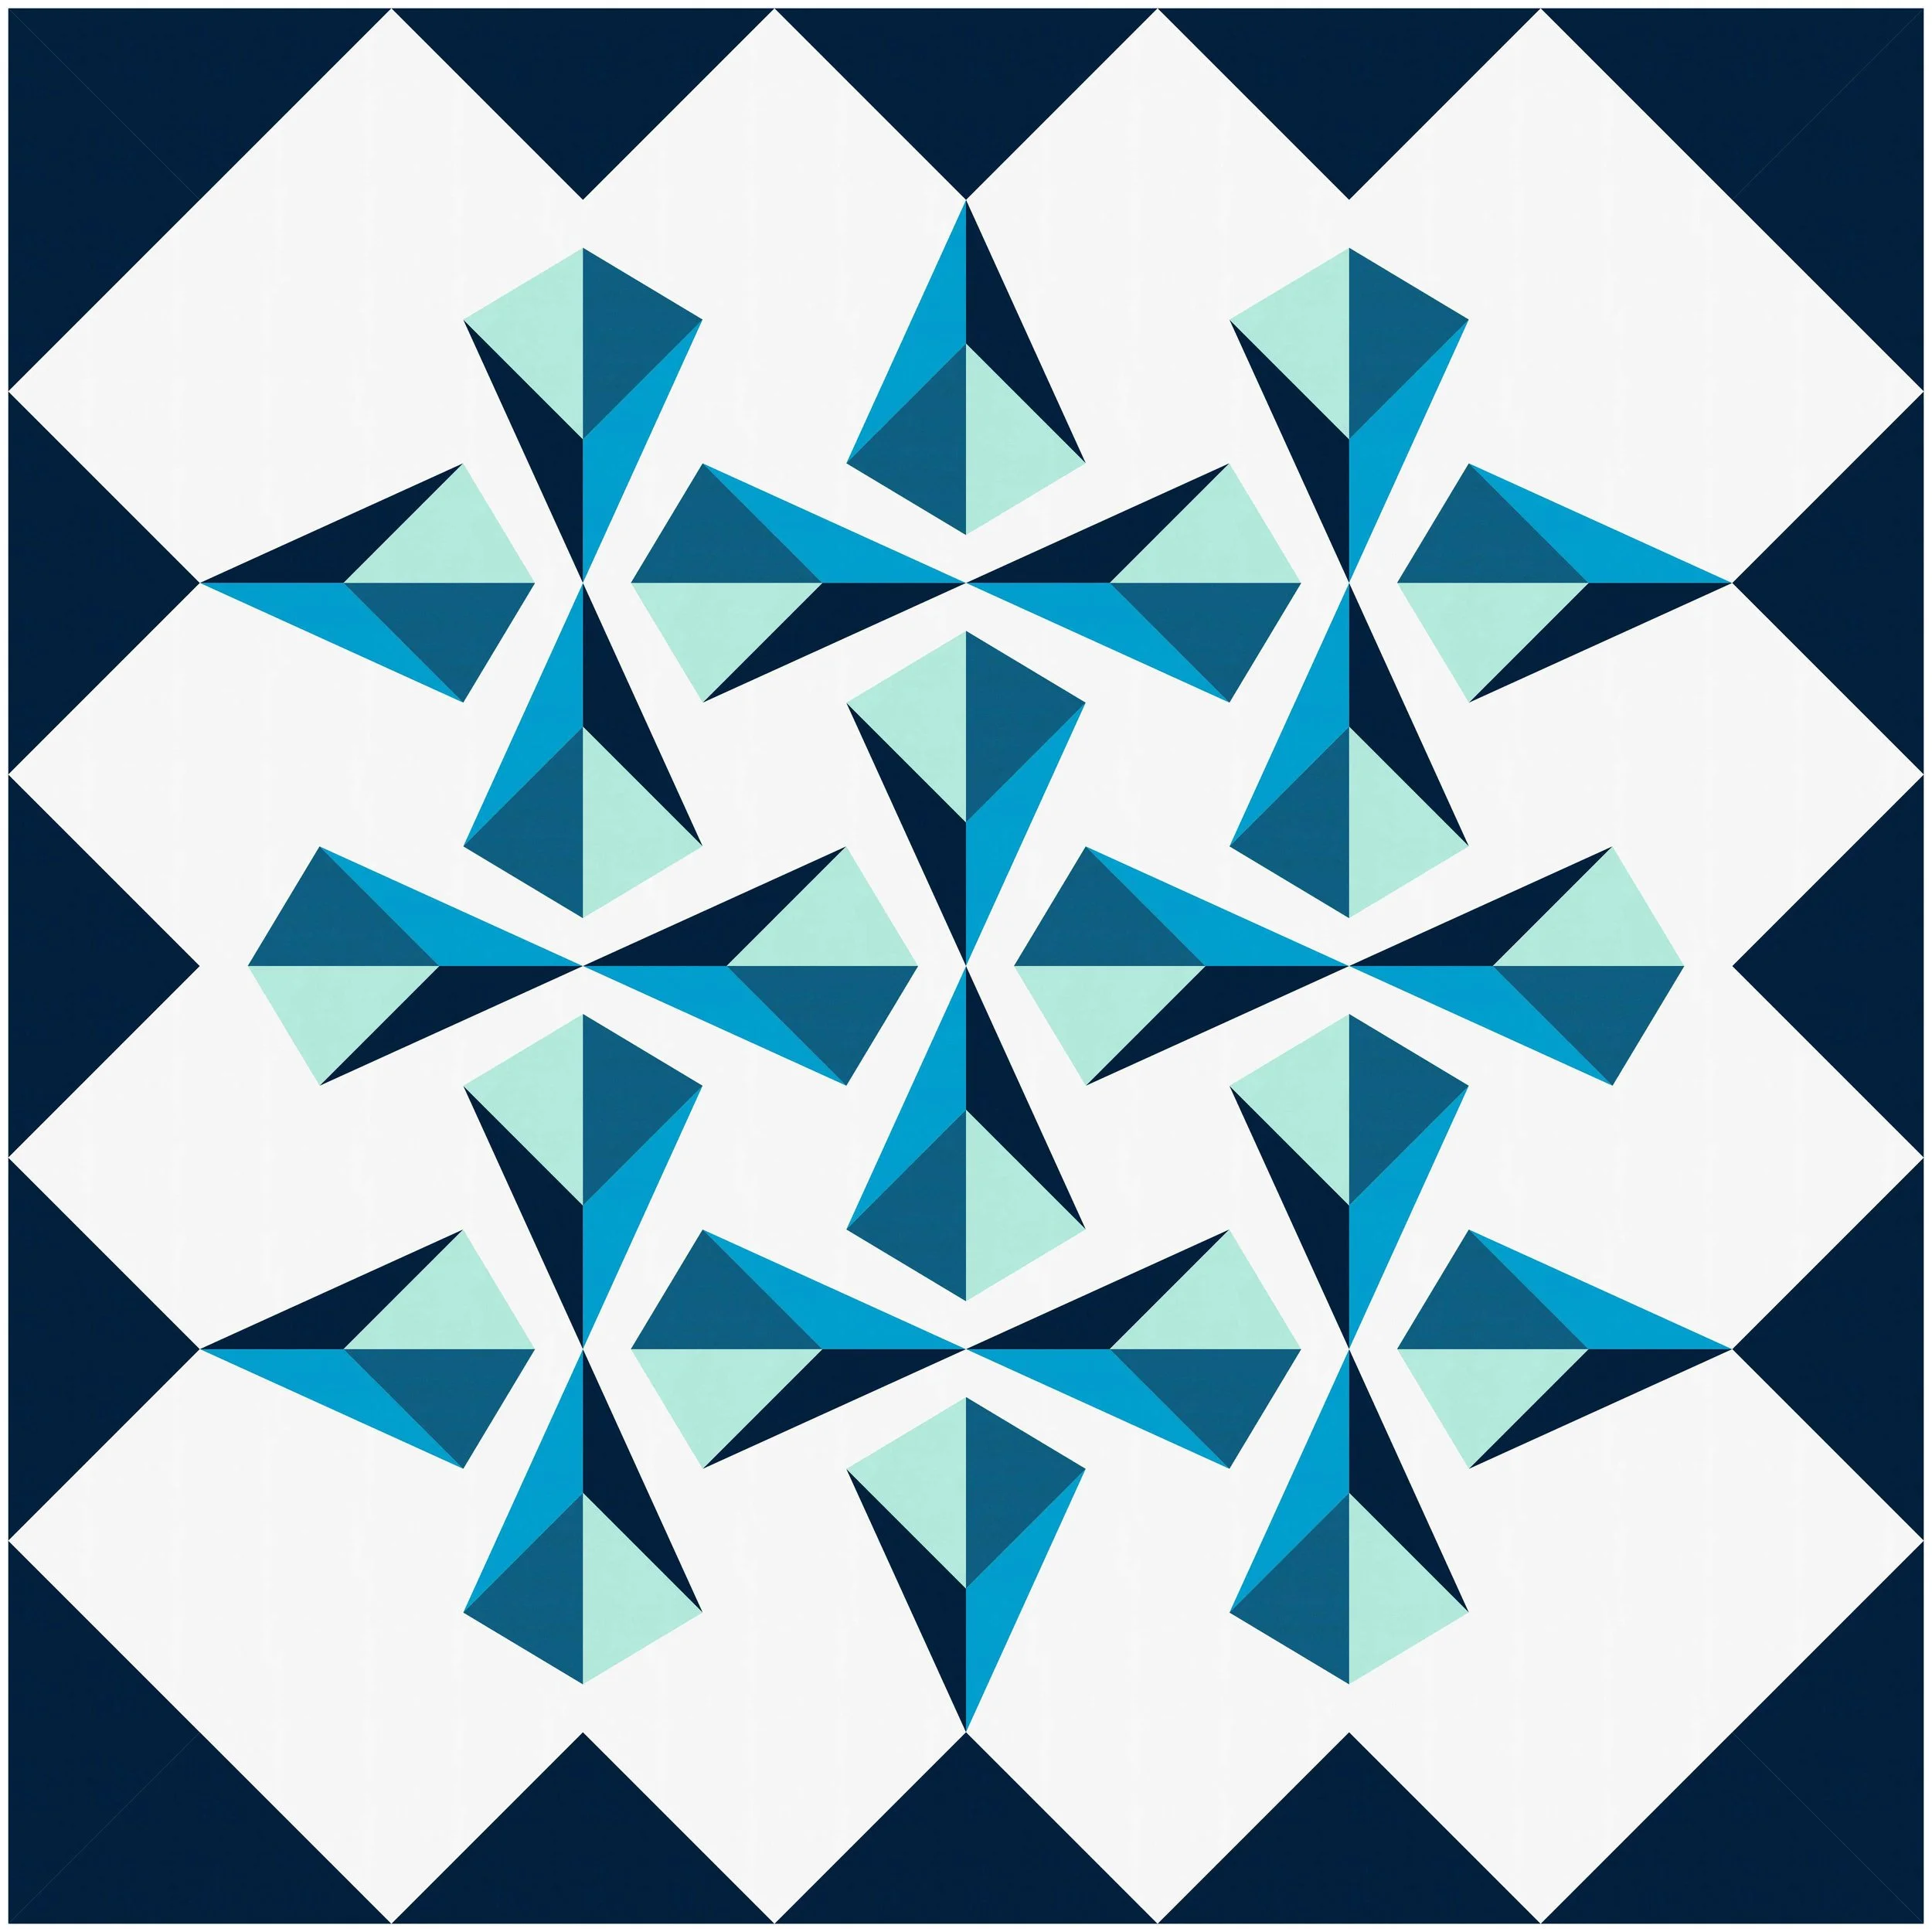
Really though. That’s what happened. My first block was this guy:
He’s based on a beautiful textbook that I fell in love with when we were looking through the gift shop of the National Museum in Reykjavik. It was too much though, so I didn’t get it, but Alex surprised me with it for our anniversary this year (if you didn’t know I was a geek, getting an art textbook in a different language for an anniversary present should clear it up). I originally drew this on a 15” block base, and it really wouldn’t translate well to 12”. It will be a pattern at some point!
So, I set about looking at other inspo photos from our trip, and went through a couple options. The first one was inspired by the windows at Harpa, the main event/cultural center in Reykjavik, but it was just a little too “full” and didn’t really fit with the other blocks, and I didn’t have a super great plan for actually, you know, “making” it.
Finally, I revisited an earlier design. If you haven’t been around for long, you might not know that, before I was a quilter, I was a SERIOUS, capital-K Knitter (I still am, I just finish projects a bit more slowly than I used to!). We were in Iceland for a week last year, and I set and achieved a goal of knitting an entire Icelandic sweater out of Icelandic wool that I bought when we landed and finished before we left. We did a LOT of driving. Anyway. Here’s a few inspiration photos followed by the evolution in design of my block.
I still like the left one a lot, but it was too much. I tried too hard to preserve the "knit stitch” and it just made a clunky and HUGE pain to piece. If there’s one thing I’ve learned from trying to adapt this inspiration as well as my Azores inspiration photos into blocks, it’s that it doesn’t have to be an exact replica of the photo. Give yourself some creative license to interpret your inspiration, rather than trying to exactly recreate it. So, I went a little more minimal with the last two. I ended up deciding on the last block, but knew there was no way I was going to do it without FPP. The problem with the block as drawn is that it would take 8 FPP templates to make it (see above). See, when you make an FPP block in EQ, it tries it’s best to interpret how it would come together. There is a certain order and there are certain limitations in how FPP works, and those influence how EQ tries to predict how you would make it. I recommend making a few FPP patterns before trying to design your own- there’s a certain intuitiveness required that comes best from experience!
Once you’ve drawn your FPP block in the Block Worktable, Go into “Print and Export” in the top menu. If you remember this post, this is also how you would print out templates.
If you click the “Foundation” button in the menu, it will pop up with a screen where you can select your “sections” (i.e., how many templates you want to have). This would have been easy-ish, and really it’s just 8 of the same template, but I knew I could simplify it down to four of the same template and save my self some seams. It ended up being easier for me to redraw a single template piece as a 6” square block, and print that out to make the final block. The template piece drawing is below (notice how it’s one quarter of the whole block), as well as what the template looked like printed out.
Notice how I changed the shapes from a vertical line all the way through to the slanted lines that follow the angle of each color triangle. This makes it so I don’t have an awkward join at the top of each triangle. You can also notice that, in the template EQ generates for you, they number it and include the shading so you have an automatic color guide. For a lot of the paper-pieced blocks I mocked up in EQ for this sampler, I ended up printing out the templates and hand-writing the color for each section, so this is a cool improvement. If you scroll back up to the previous template pop-up, you’ll see at the top that there are three sections labeled “Numbering”, “Sections”, and “Options”. Much of the templates are open to your own interpretation, but I found the options menu most helpful because you can set all kinds of printer options.
What is most helpful if you’re writing a pattern, however, is how to export your file without printing it. To do that, you have to go up to “File” and scroll down to “Export Metafile or Block”. This opens up a window like the one to the right. If I were entering this into a pattern, I would likely select “High” quality and “Outline Only” knowing that anyone making the pattern would likely choose their own colors. Click the floppy disc (how many of you are old enough to know what that is!? I’m JUST BARELY old enough!) next to “Save as Windows metafile.”
I write my patterns in Microsoft Word, so when I go to “Insert” and “Insert Picture”, I select the metafile I saved and it pops it in at the exact right size. To be honest, I’m not sure what it would do if the template were bigger than a normal page dimension, so if someone’s tried it, share in the comments!
With this block, I’m done with my sampler! Now I just have to get it sewn together and basted and quilted and bound and all of that, but here’s a sneak peek of all the blocks together just for getting through this post!
If you’re interested in trying out EQ8, or have been just waiting for that sale to get you over the edge, you can use my promo code (does not benefit me at all!) below for 20% off through the end of September!