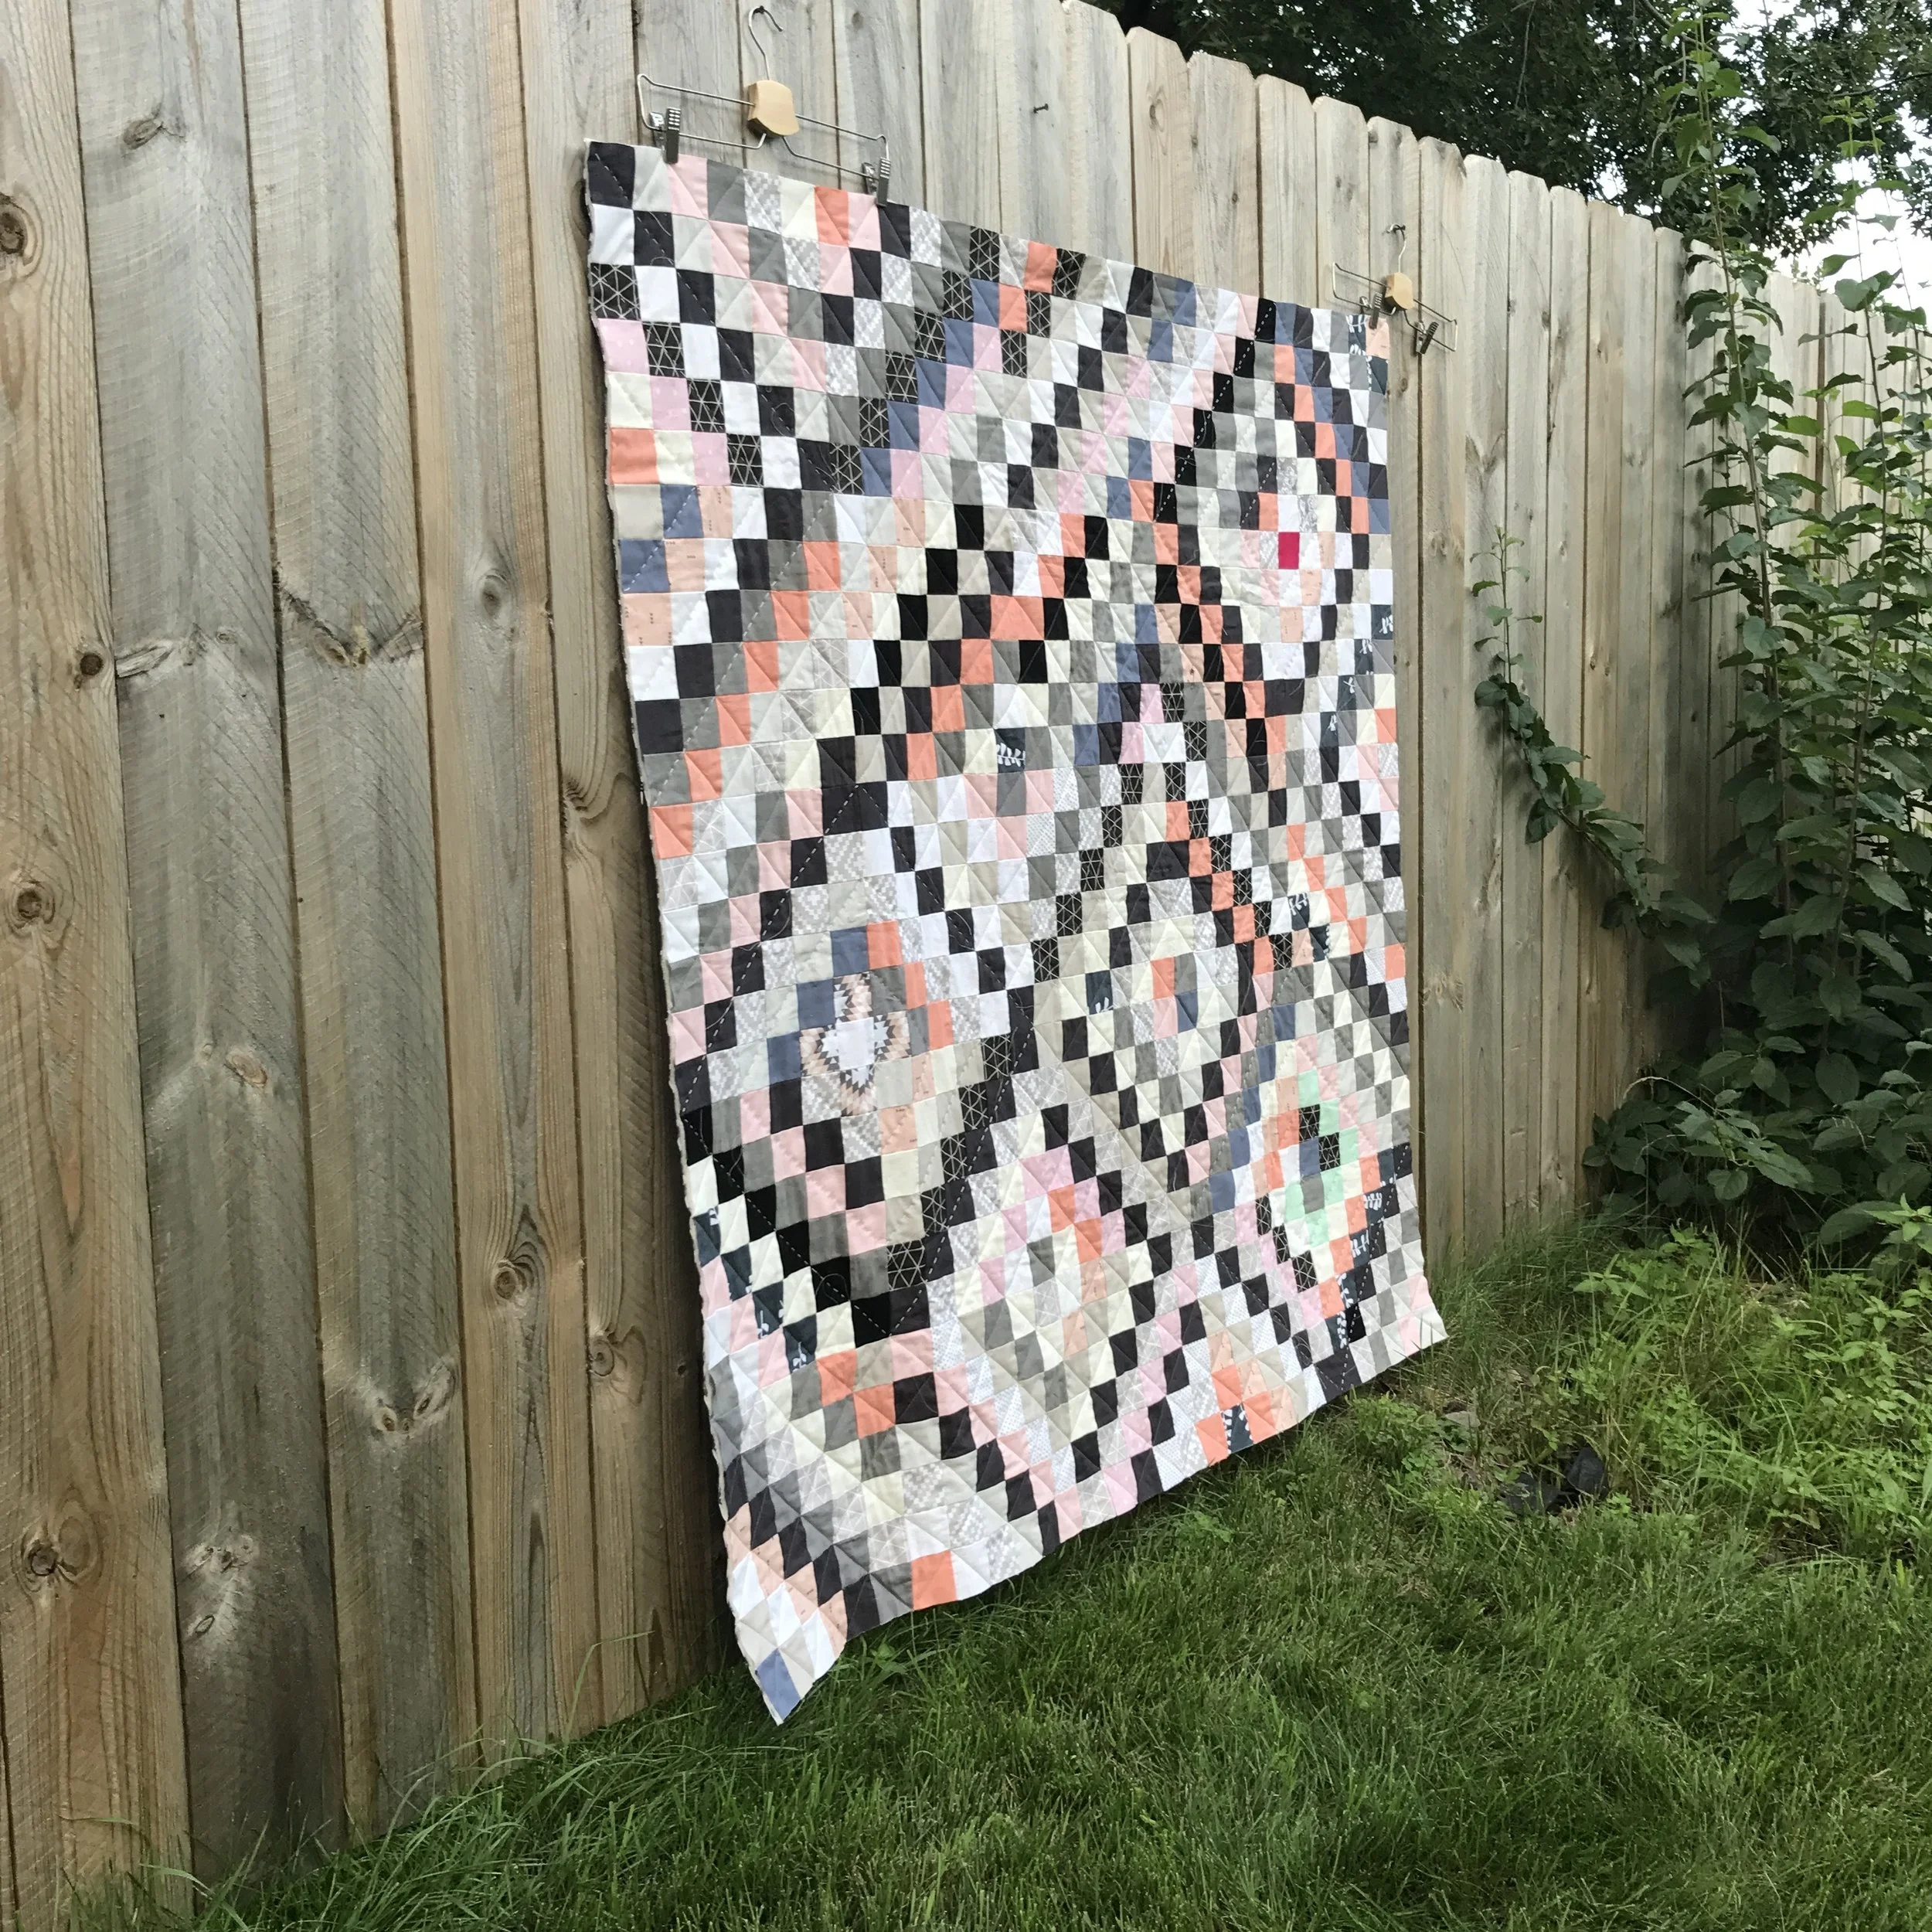
String Quilts!
So, I cleaned up my sewing room while on holiday break, and had a bunch of long, skinny scraps leftover from stockings, trimming off excess battings, or even just the last couple inches from yardage. I had been noodling on designing something to hoover them up, when suddenly I see a hashtag for #modastringalong, and away I go!
String quilting uses any long strips, or strings, of fabric. They can be sewn into a big panel and cut up various ways to make striped quilt blocks, or you can piece the blocks together individually and trim them down. I used the second method, and got a lot of questions on instagram about it so I’m putting together a quick little tutorial of the underbelly of my quilt. For a more exhaustive tutorial, check out Moda’s blog post about the event!
My biggest piece of advice is to come up with a plan and GET ORGANIZED. I had a lot of floral, pink, and white scraps, so I knew those were going to be the main colors and I was going to alternate white and color strips. I also added in some blues, greens, and golds, which I planned to use mostly in the corners. I didn’t always stick with these rules, but it gives an otherwise really crazy quilt a little bit of consistency and structure.
I sorted my strips by color (pinks, whites, blues/greens, and golds/florals) so I didn’t have to dig through the whole pile, and once I got started, I separated out short pieces (see upper middle of picture), again to avoid digging through the whole pile. The short pieces are useful as you get to the corners, and saves you some trimming of long pieces!
I also recommend trimming to width ahead of time. My cutting mat (as you can see in the picture) was totally covered, so it was helpful to cut long strips that were too wide before getting started. All of my pieces were between an inch and 3 inches in width, although I usually kept width under 2 inches.
I decided to do an 8x8 grid of 8” finished blocks (64” square quilt). The method I used is essentially a foundation piecing method, but I used foundation blocks made of muslin cut to 8.5” rather than paper. You could also use paper (Moda suggested old phone book pages), but you have to rip it out at the end. The blocks themselves are really simple:
Pick one strip long enough to stretch diagonally from corner to corner and place on foundation square right-side up. (I usually just trimmed long pieces as I went to roughly the right length and saved the extra to use later)
Pick another strip long enough to stretch diagonally and place on top of first strip, right-sides together.
Sew 1/4” seam along edge and press top strip open. Note- the goal is to sew the strips directly to the foundation square (see picture below)
Repeat 1-3 until you’ve covered half the block, then flip and fill up the other side.
It’s very similar to quilt-as-you-go! I chain-pieced anywhere from 10 to 30 blocks at a time to avoid having to get up and iron for every seam. It’s still a lot of sewing (I think I went through 4 or 5 bobbins?) and ironing, but chain-piecing definitely helps break it up.
At the end, you’ll have a foundation block that’s completely covered by strips. I found that I had a little bit of shrinkage with all the seams, so I’d recommend giving yourself a little bit of extra trimming room (for example, if you want 8” finished blocks, cut 9” foundation squares instead of 8.5”).
Trimming is easy, and can be a good way to address any corners that might not have gotten completely covered. I had a few corners where there would be a 1/4” that wasn’t quite covered on one side, but as long as you have extra on the opposite corner, you can shift your block a little with trimming (see below).
You can see the little corner that’s not quite covered in the upper right, but I had a little extra in the opposite corner.
So, I shifted my ruler so that the 8.5” mark was a little past my foundation square and trimmed from there.
Trimming is definitely the most satisfying part of a string quilt. Once you’ve trimmed all of your blocks, you can start playing around with layout. The extra layer of fabric from the foundation squares makes the top a little thicker, so I haven’t totally decided on my finishing. I’ll either finish normally with batting and backing and quilting, or I’m considering using a minky or other heavier backing and omitting the batting.
I’m also plotting my next one. This quilt did a pretty good job of wiping out my bright scraps, but I have a whole evil twin’s-worth of blues, blacks, purples, and grays still in my drawer!


