Scrappy Improv: Bringing it all together
nd now, the moment you've all been waiting for! Piecing it all together was my favorite part of the process, and I'm actually really excited to take some of this process and try it out with big blocks of solid fabric too! I made the switch from block-building to top-building when I my blocks stopped fitting together. I ended up having about 8 blocks (one was really small, see below), and I liked stopping with the block-building there because it left me with some layout flexibility for constructing my final top. I was afraid that, if I kept going, I would start ending up with really long pieces that would either need to be cut to fit in a reasonable top, or that wouldn't end up fitting together cohesively.
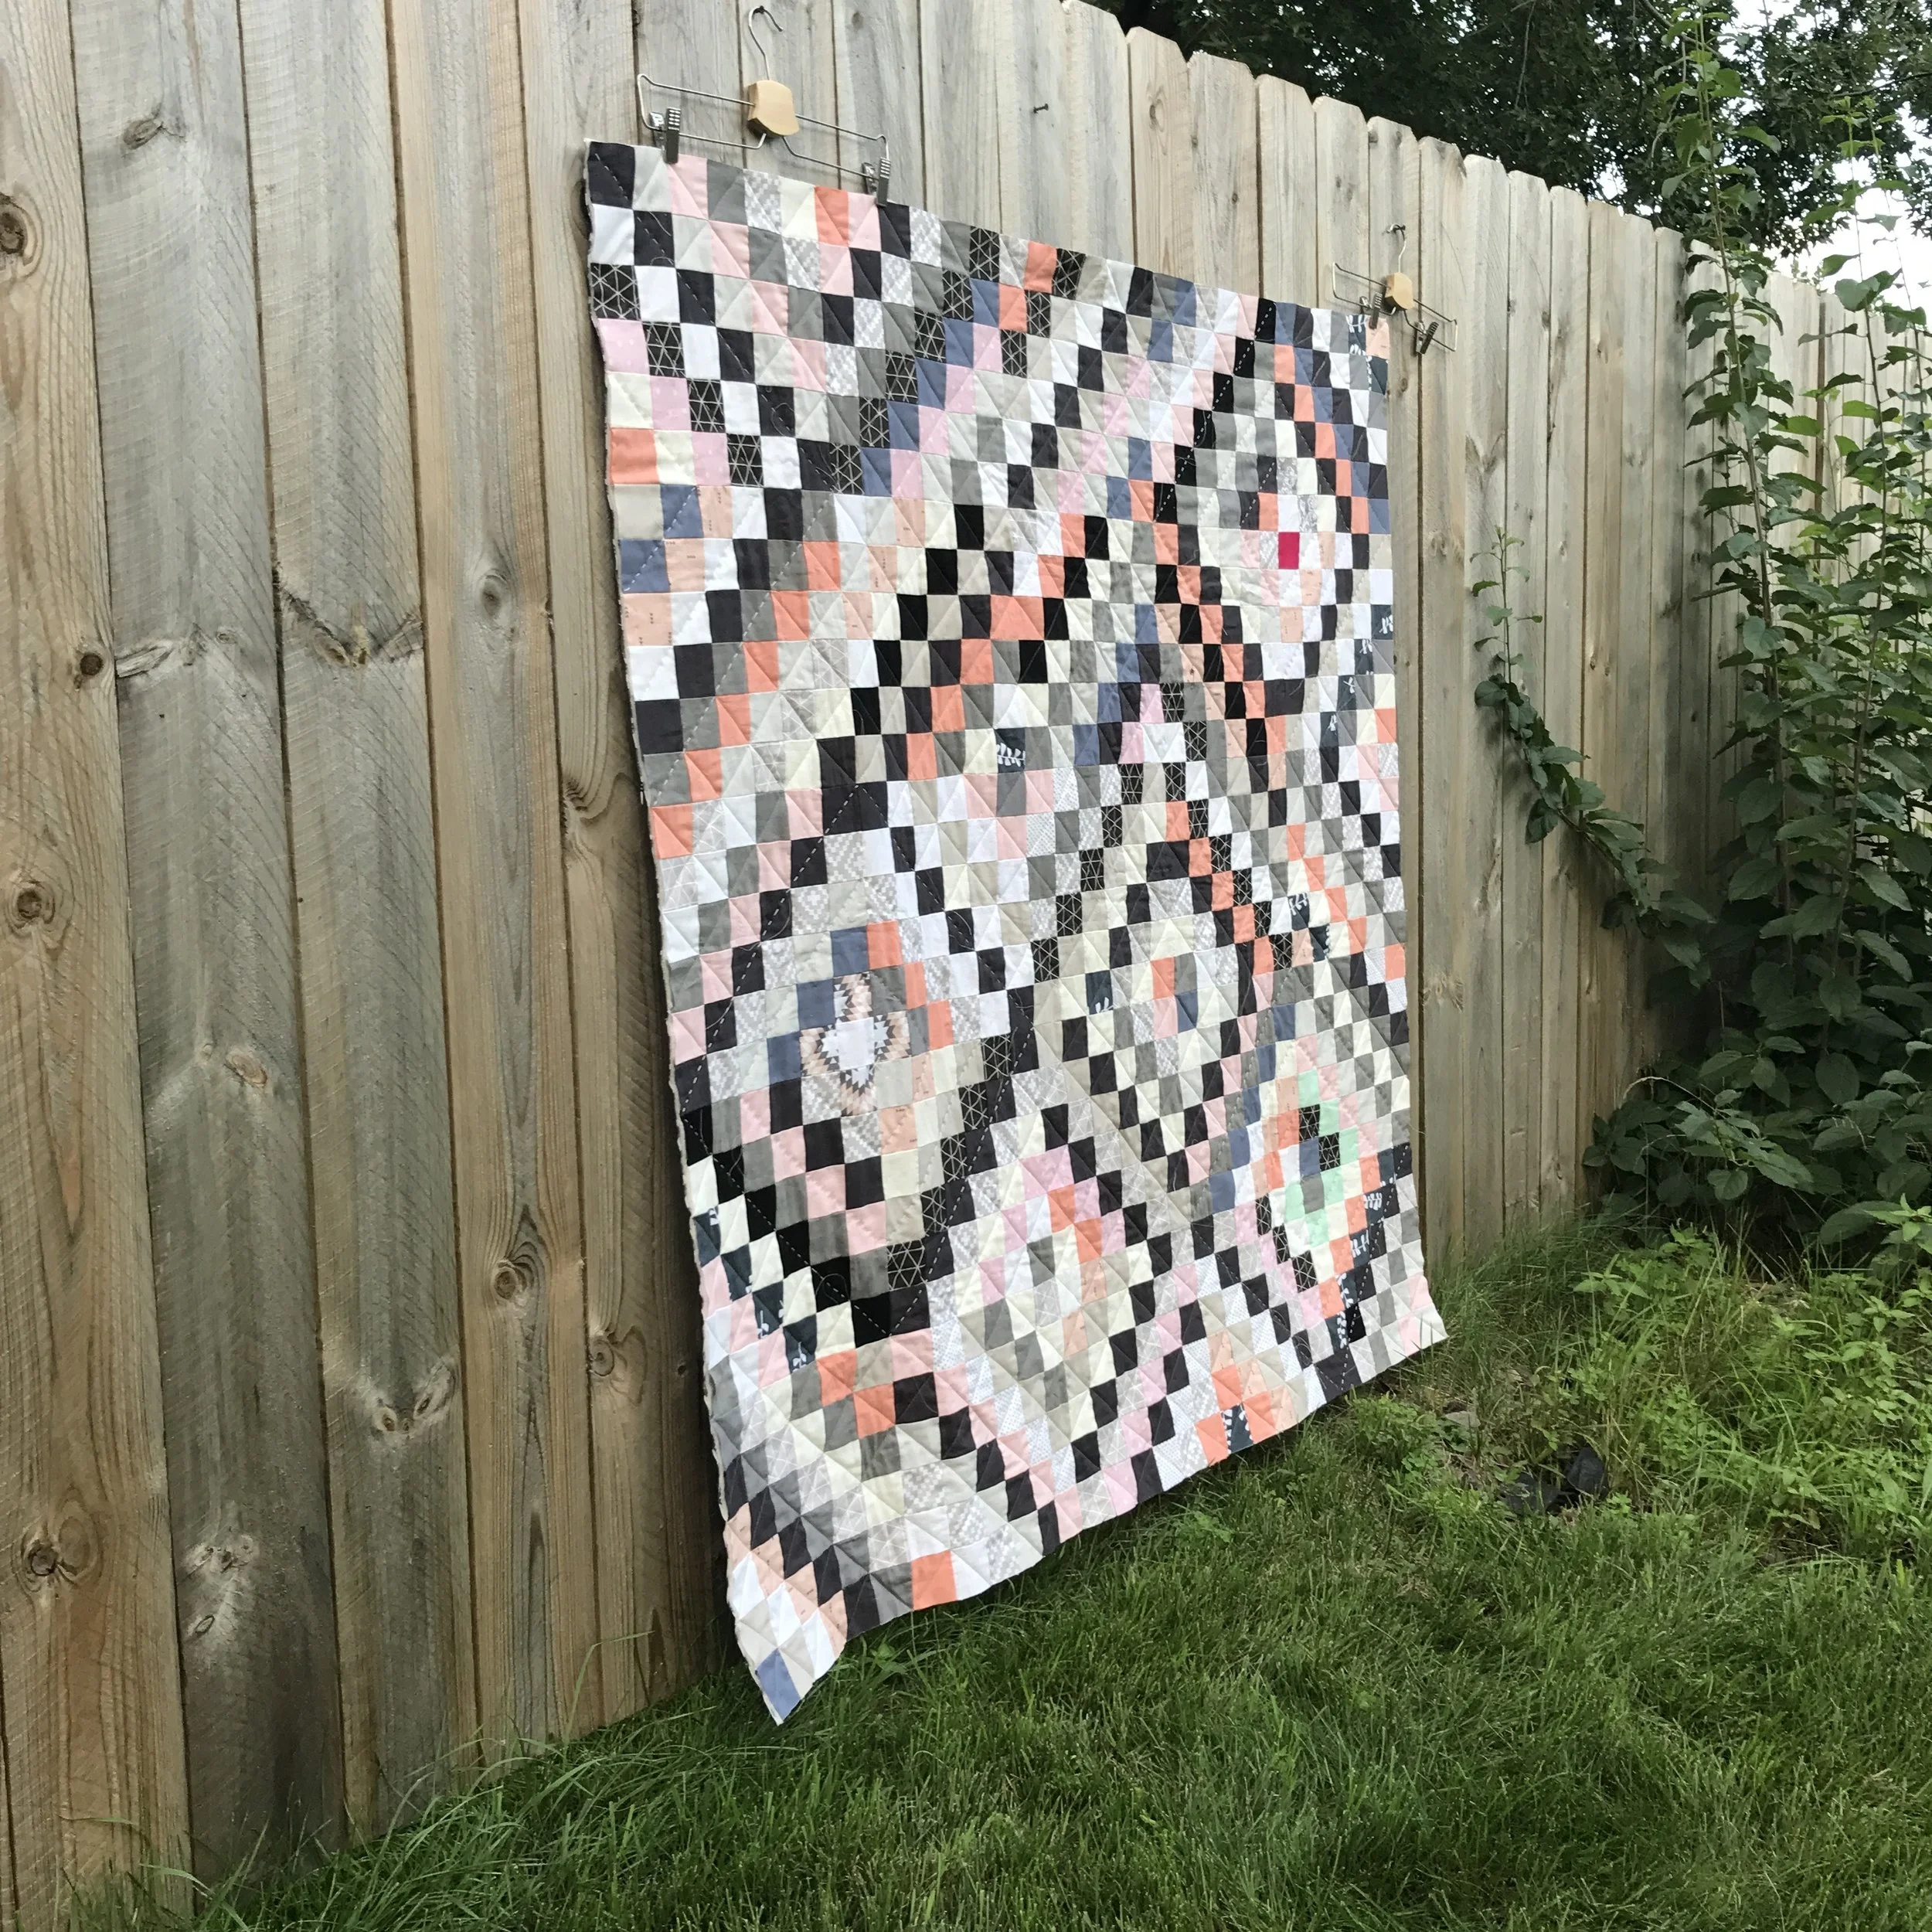
I've outlined my eight final blocks in the picture above. The pink one in the middle was my biggest block, so I started with that and just built around it until I felt I had a somewhat balanced shape.
ou can approach this one of two ways- you can try to arrange them into as close to a rectangle/square as you can, square up, add borders if you want, and call it a top. I might do this with the next one, and think it would look nice to have all the craziness framed in a bit. For this top, I liked the idea of a scrap "cloud," that was a little irregular, touched the edges of the top in some points, etc. This meant that I had to fill in the spaces around the edges, which really isn't that different from the process up to this point!
Paper and painters' tape was the answer! I decided that I would bring the edges out to the farthest point on each side, so orange on the right, red on the bottom, green on the left, and purple on the top. I mocked up the sections of white on the perimeters of the quilt with the paper, and then brought the templates down to cut pieces to fit. I usually added a little extra in each dimension for some wiggle room, so if you do that, just make sure your extra ends up on the outsides of the quilt and not where your seams will be.
It helped to break it up into sections, marked in the picture above by the black lines. So, for the top, I had to sew the green arrow seam and the light blue arrow seam, and then I could sew those two together. Once I sewed the pink arrow seam, I could sew the pink block to the green/blue block, and I had my first section done! Laying it out like this helped me keep orientations and layouts straight, and had the added bonus of giving me a lot of exercise as I laid the quilt out on a different level of my house than my sewing room and had to do a lot of running back and forth!
This was really just a fun exercise and way to use up scraps. One commenter on IG said that it's like a memory quilt of all the other quilts you've made, and she's TOTALLY right. It was fun to put two pieces together and think about the quilts they came from and how I want to use them next. I'm working on piecing a back for it now that is mostly navy but filled in with some strips of fabrics that make an appearance on the front. I'll probably do a scrappy binding too, because why not go whole hog, right? If you make one of your own, tag me on IG @krystinah_mn -- I'd love to see your quilt!